

How To Add Authentication To Web App
We will develop an example single page application (SPA) - a Todo application (how original!) with a sign up / log in that looks something like this: 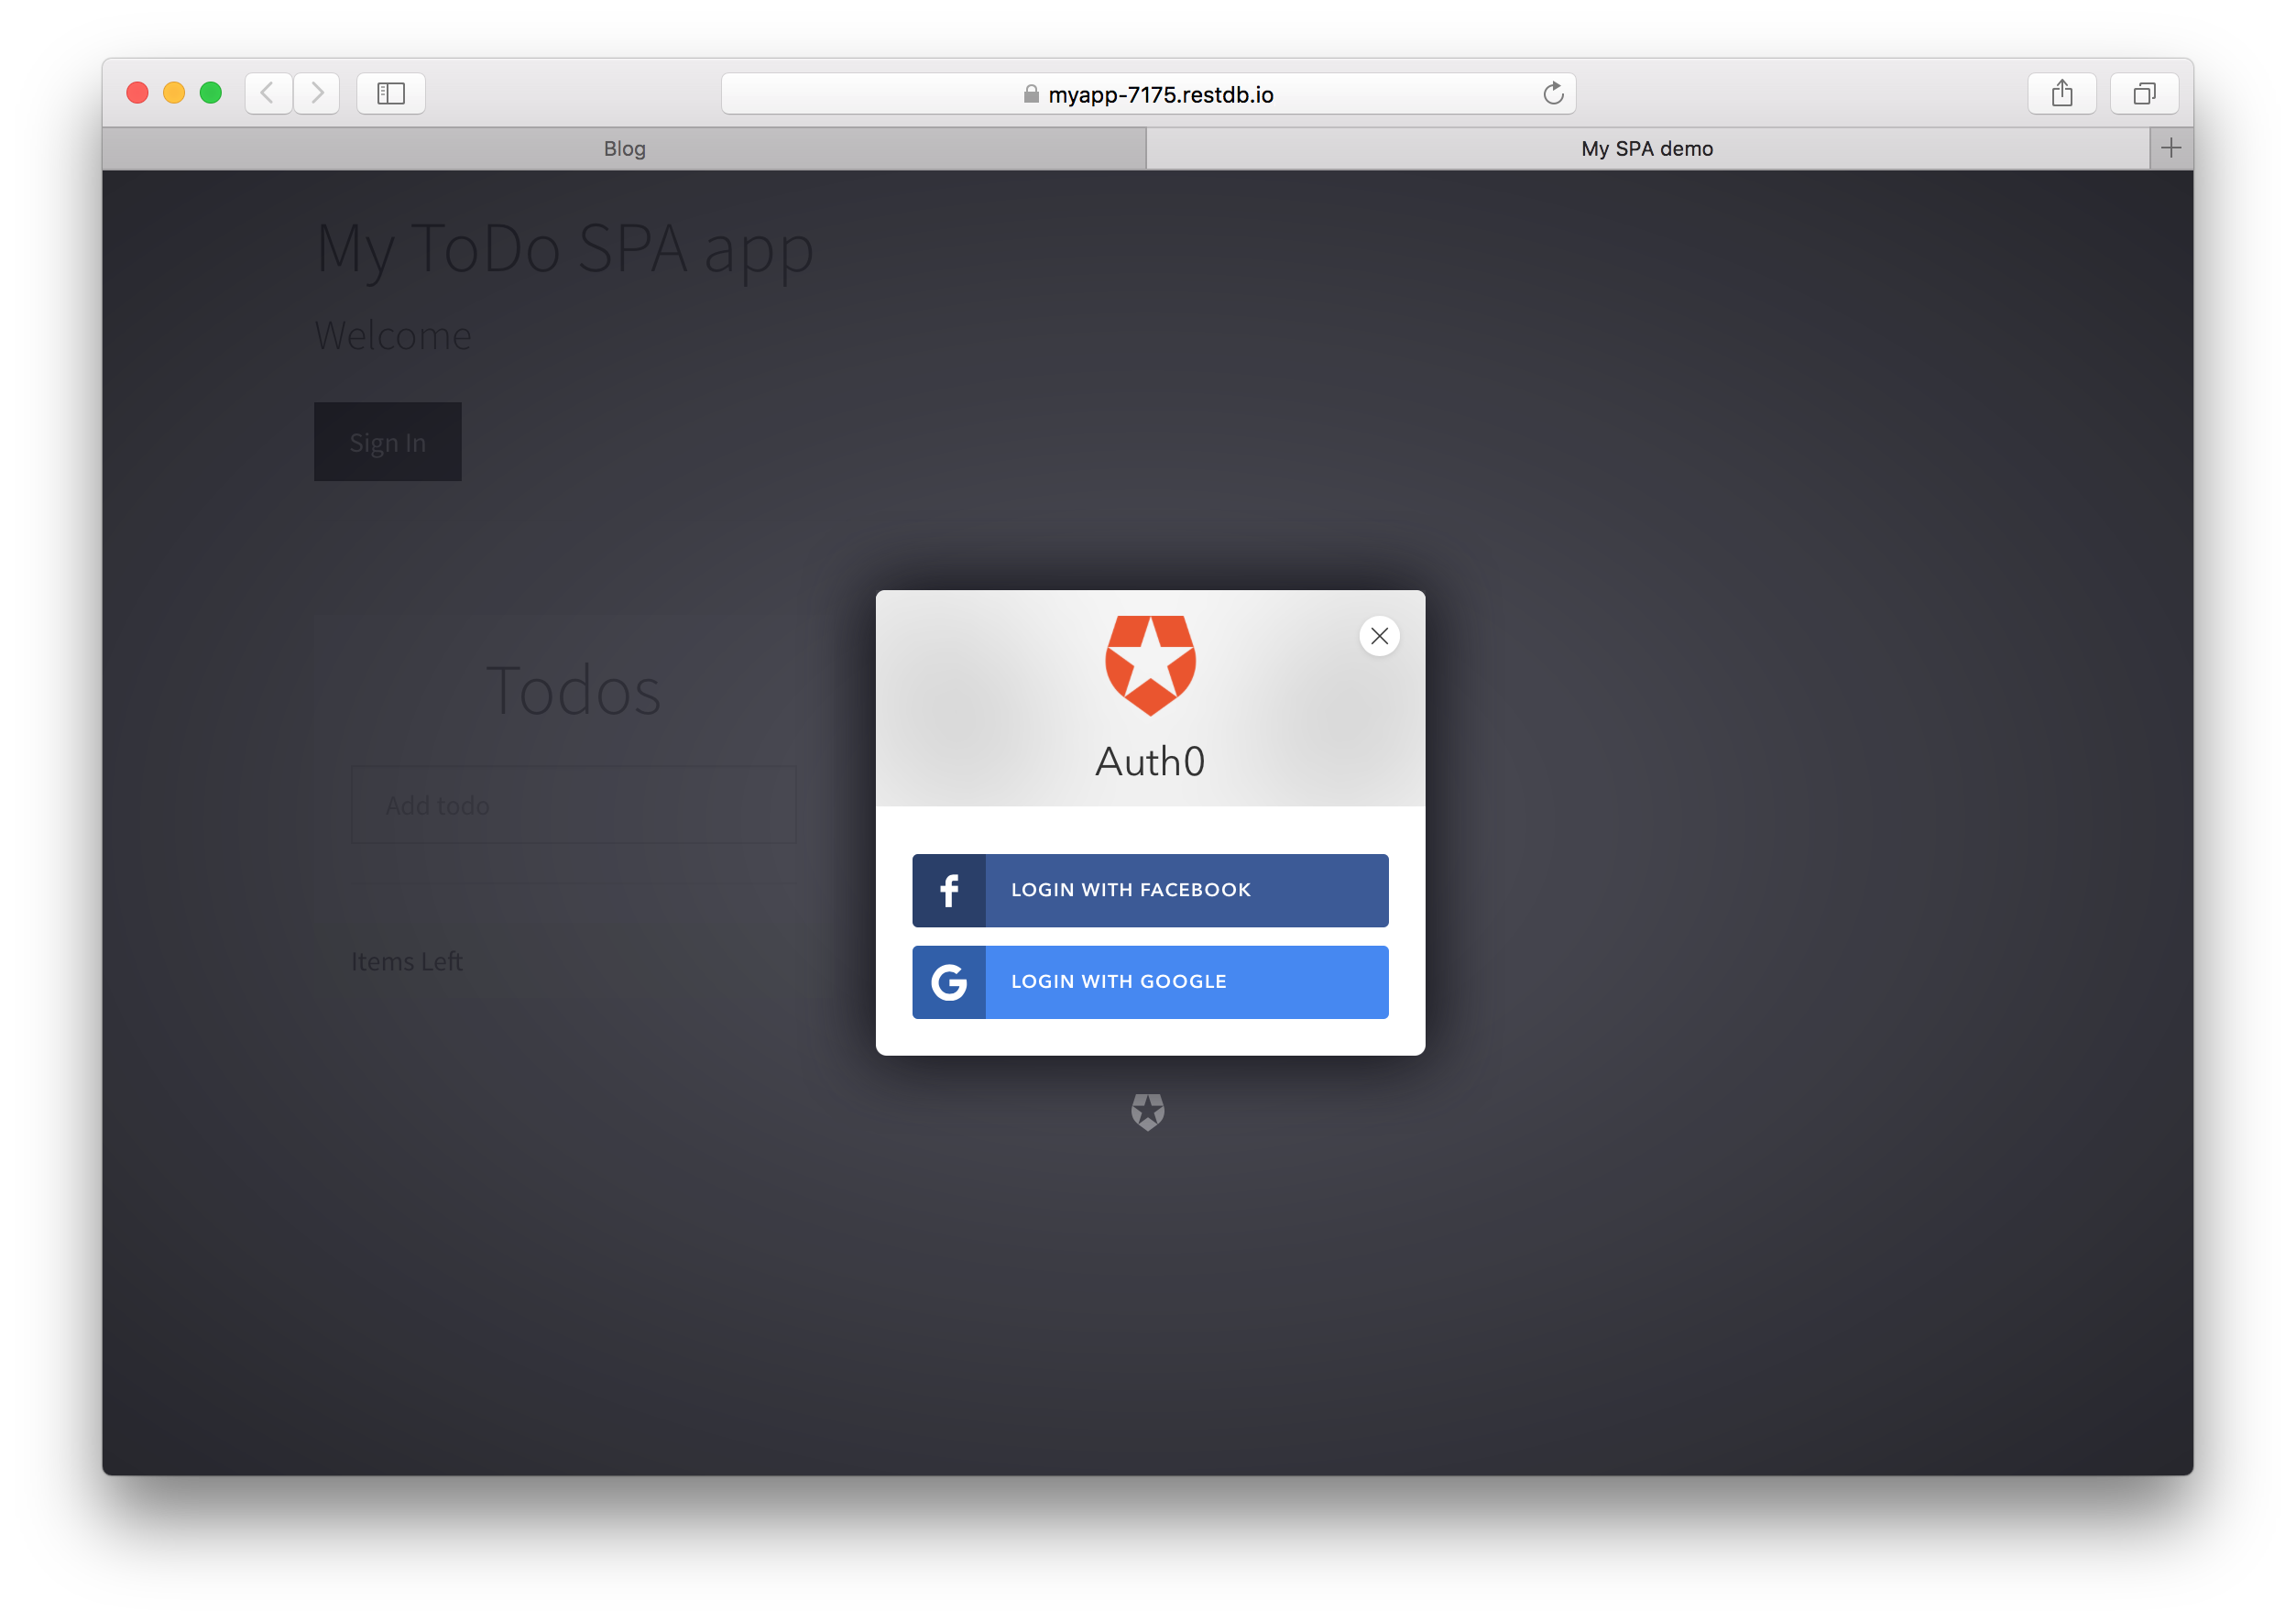
You can check out the live example application here.
The stage is now set, let's start developing!
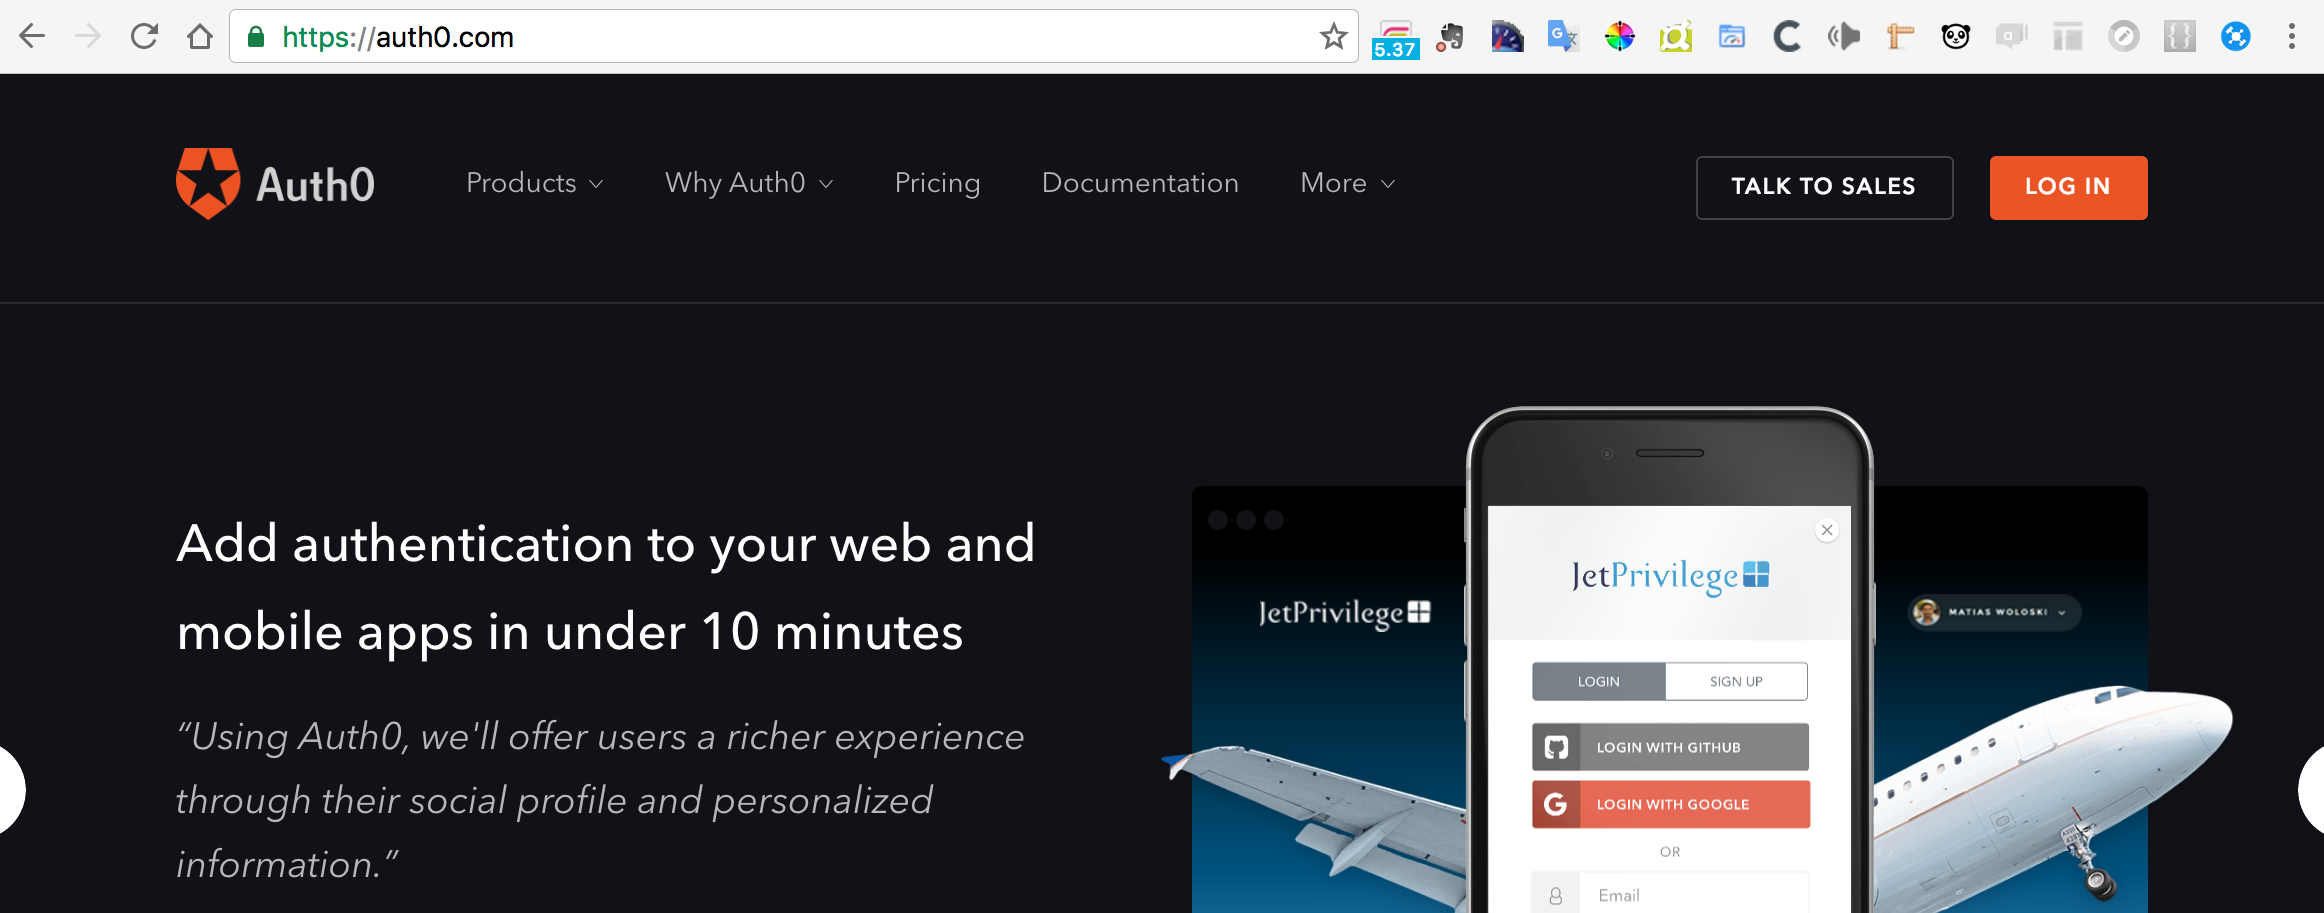
Get an account at auth0.com
If you don't already have one already, go to auth0.com and sign up for a new account. And lets try to do what they say on their web site, add authentication to your web app in under 10 minutes :)
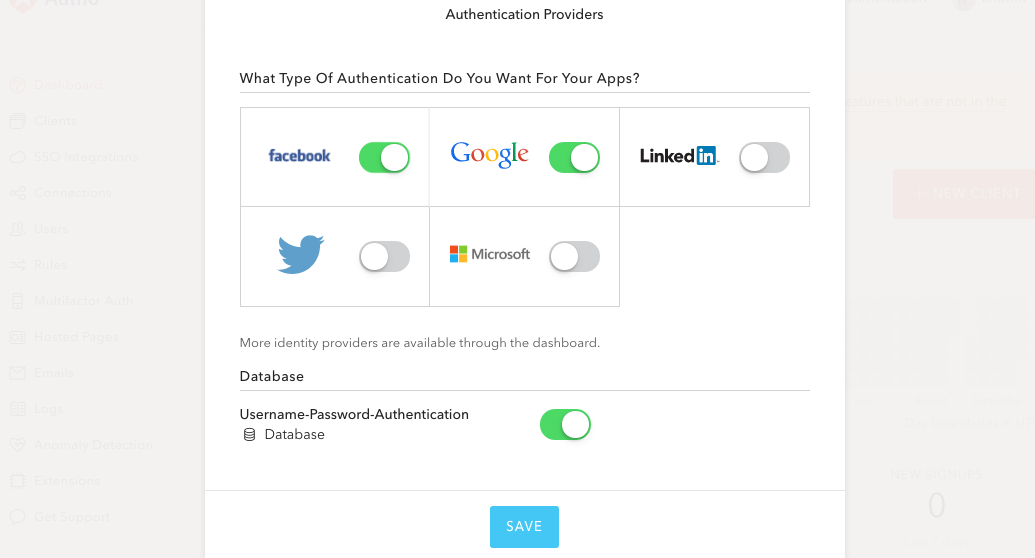
Pick providers
After you've signed up you must pick your authentication providers, typically Google and Facebook. Select Username-Password-Authentication if you want users to sign up and log in with their email address, but you don't need this to start with.
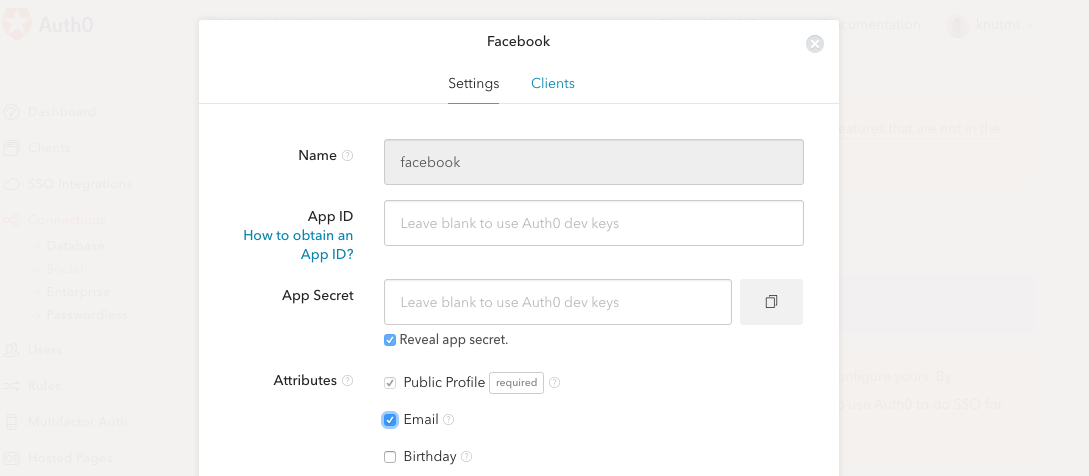
The default setup for Facebook authentication does not include a permission setting for the user email address.
We need this in our app, it's therefore important to set this up correctly.
Navigate to Connections/Social and select Facebook. Then check the Email attribute to ensure that we ask for permission to get the email address from our Facebook users.
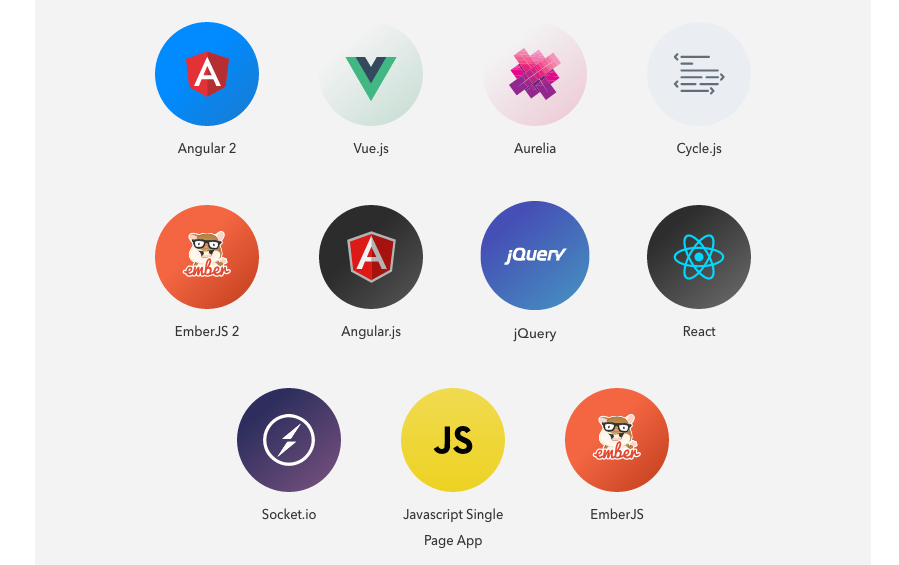
Pick type of app
As you can see from the image below, you can integrate authentication using all the popular frameworks. For learning purposes we just pick a Single Page Application (SPA) with JQuery.
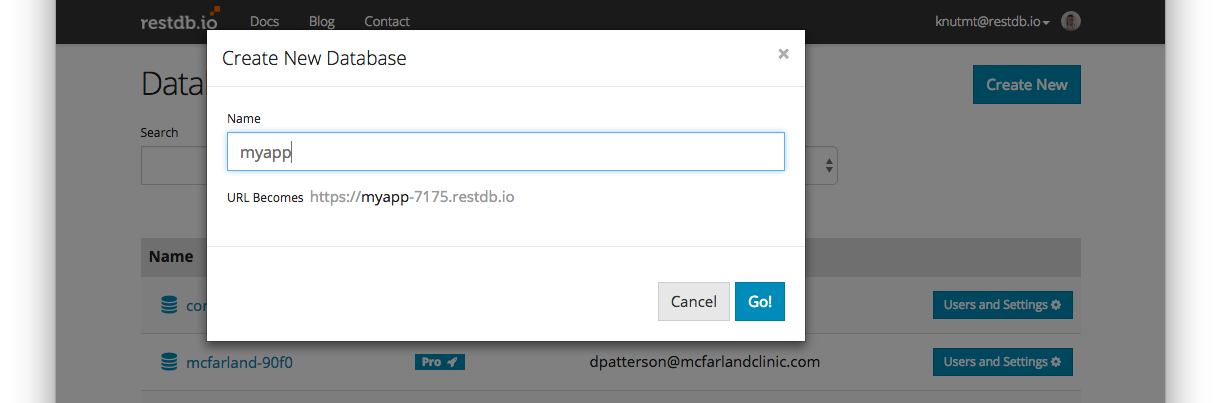
Create a database for your app
Switch over to restdb.io (a simple NoSQL database service) and create a new database for this project (sign up for a new developer account if you don't have one already).
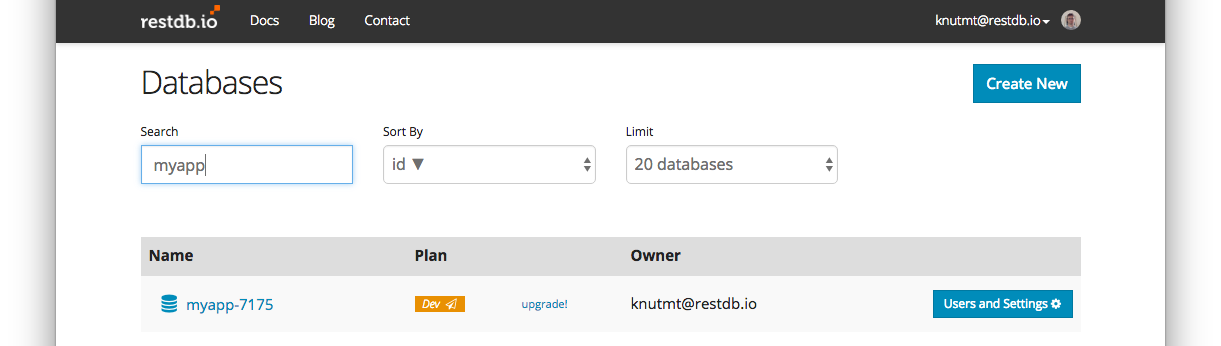
After this you can find the newly created database in your list.
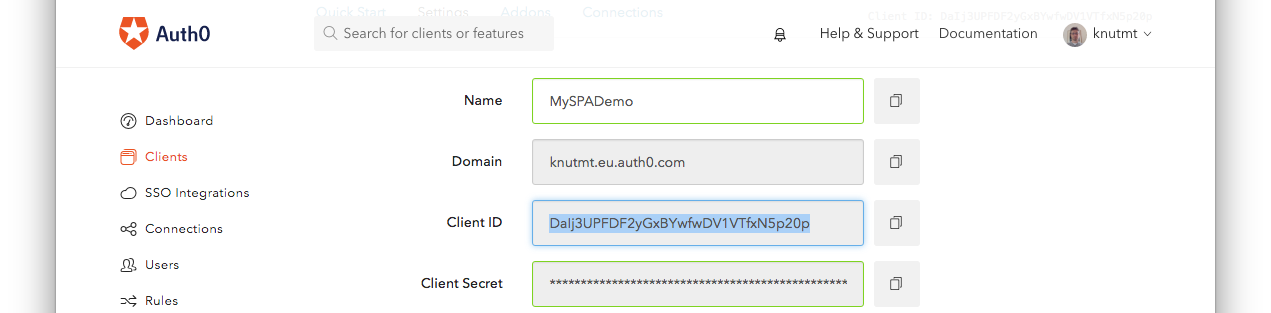
Copy ID, Secret and Signing Certificate
We need to connect Auth0 and our database so that users can be authenticated all the way through from Auth0, the browser and into the database. This is done by setting up a Client ID and a Client Secret that is unique for your app. The Client ID is a public key that is used in the web browser. The Client Secret is not, this must be protected.
In Auth0 navigate to your Client and copy the Client ID and the Client Secret.
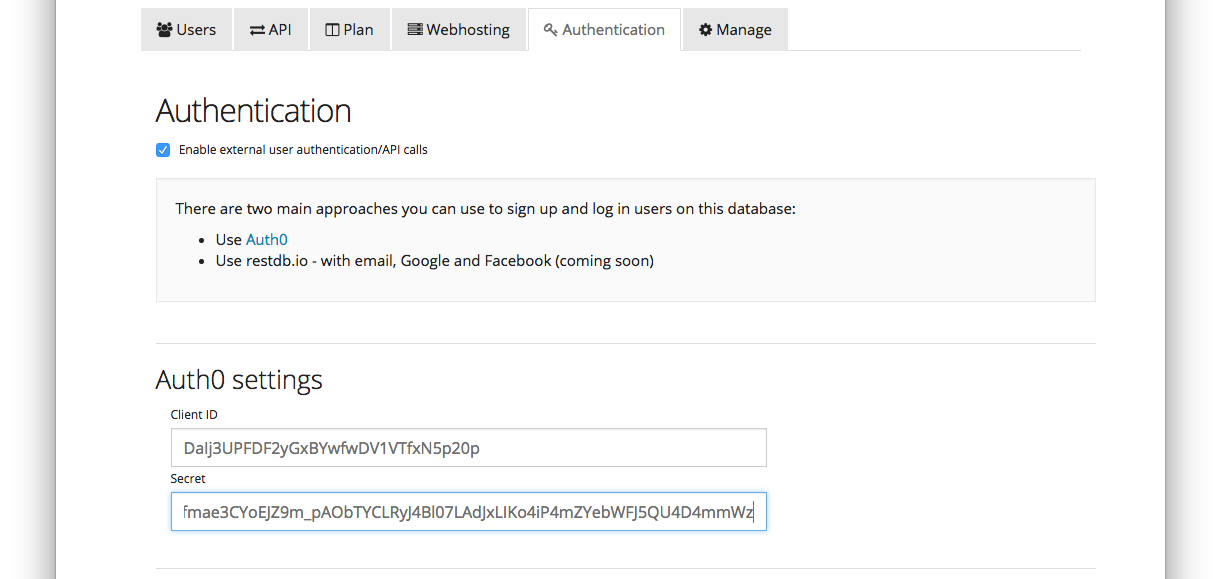
In restdb.io navigate to Database settings for your database and select the Authentication tab. Then paste in the two values from Auth0 into the Client ID and Secret inputs.
Update: When signing your JWT with the RSA256 algorithm (which is now default in Auth0), make sure to also copy the Signing Certificate from Auth0 into the Authentication/Certificate field in RestDB.You'll find the certificate under the Advanced tab in Auth0.
That's all we have to do of setup stuff, we're now ready to develop our ToDo application.
The Web Application
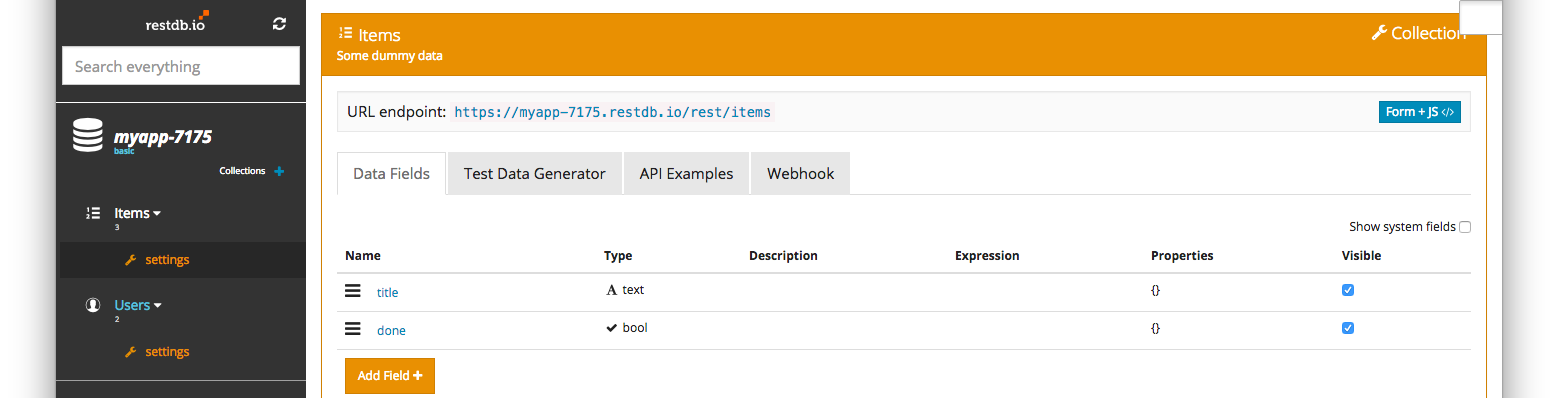
In restdb.io we will create a collection for the to-do items called "items". We will also create a public Page to host our Web application.
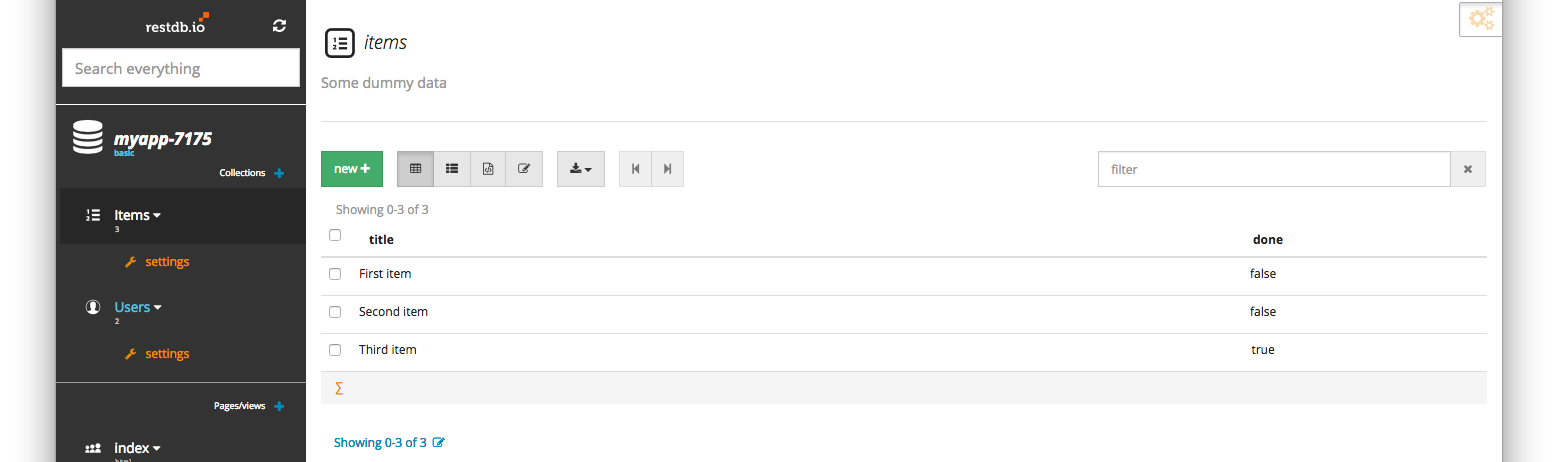
After we've created the collection we can add some test data into our ToDo database.
Next we create the public HTML Page to host our Web application. This can be done using restdb.io's Pages or you can host your own web page somewhere.
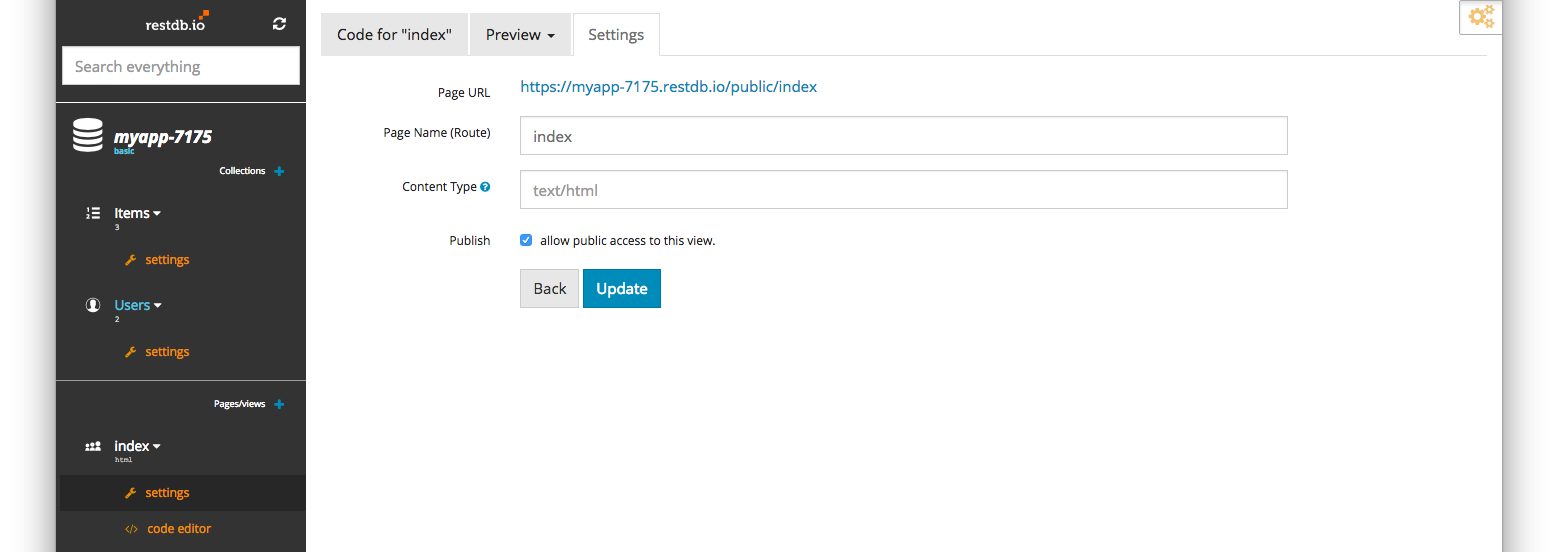
Click on the "code editor" menu and enter the code for your Page.
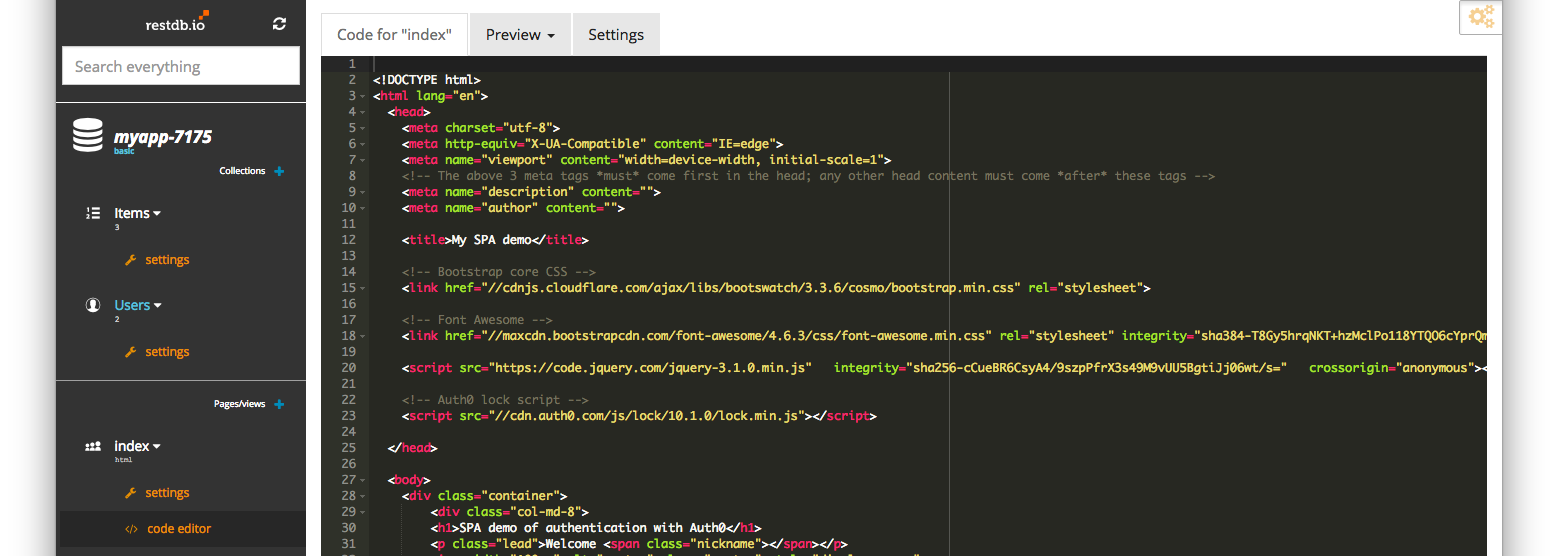
In your code you need to include the Auth0 lock component:
<!-- Auth0 lock script --> <script src="https://cdn.auth0.com/js/lock/11.16.0/lock.min.js"></script> Then configure it:
const AUTH0_CLIENT_ID = "2H0ZI4rs0NJe0cHmXC3PQ4YqkuyPaI17"; const AUTH0_DOMAIN = "knutmt.eu.auth0.com"; var lock = new Auth0Lock(AUTH0_CLIENT_ID, AUTH0_DOMAIN, { auth: { params: { scope: 'openid email profile' }, configurationBaseUrl: 'https://cdn.auth0.com', responseType: 'token id_token' } }); When the user clicks the "login" button we invoke the lock component:
$(".btn-login").click( function(e) { e.preventDefault(); lock.show(); return false; }); The lock component gives us a callback on a successful login, and we store the token in the web browsers Local Storage:
lock.on("authenticated", function(authResult) { lock.getProfile(authResult.accessToken, function(error, profile) { if (error) { // TODO: Handle error console.log("Auth0 getProfile failed", error); return; } localStorage.setItem('id_token', authResult.idToken); // Display user information show_profile_info(profile); // global ajax Authorization setup $.ajaxPrefilter(function( options ) { if ( !options.beforeSend) { options.beforeSend = function (xhr) { xhr.setRequestHeader('Authorization', 'Bearer ' + localStorage.getItem('id_token')); } } }); // get task items from database getItems(); }); }); And voilà, we can make secure calls to our database REST API, using the Auth0 security token:
// get tasks from database function getItems(){ $.getJSON('https://myapp-7175.restdb.io/rest/items', function(data){...});} You'll find links to the complete source code at the bottom of this article.
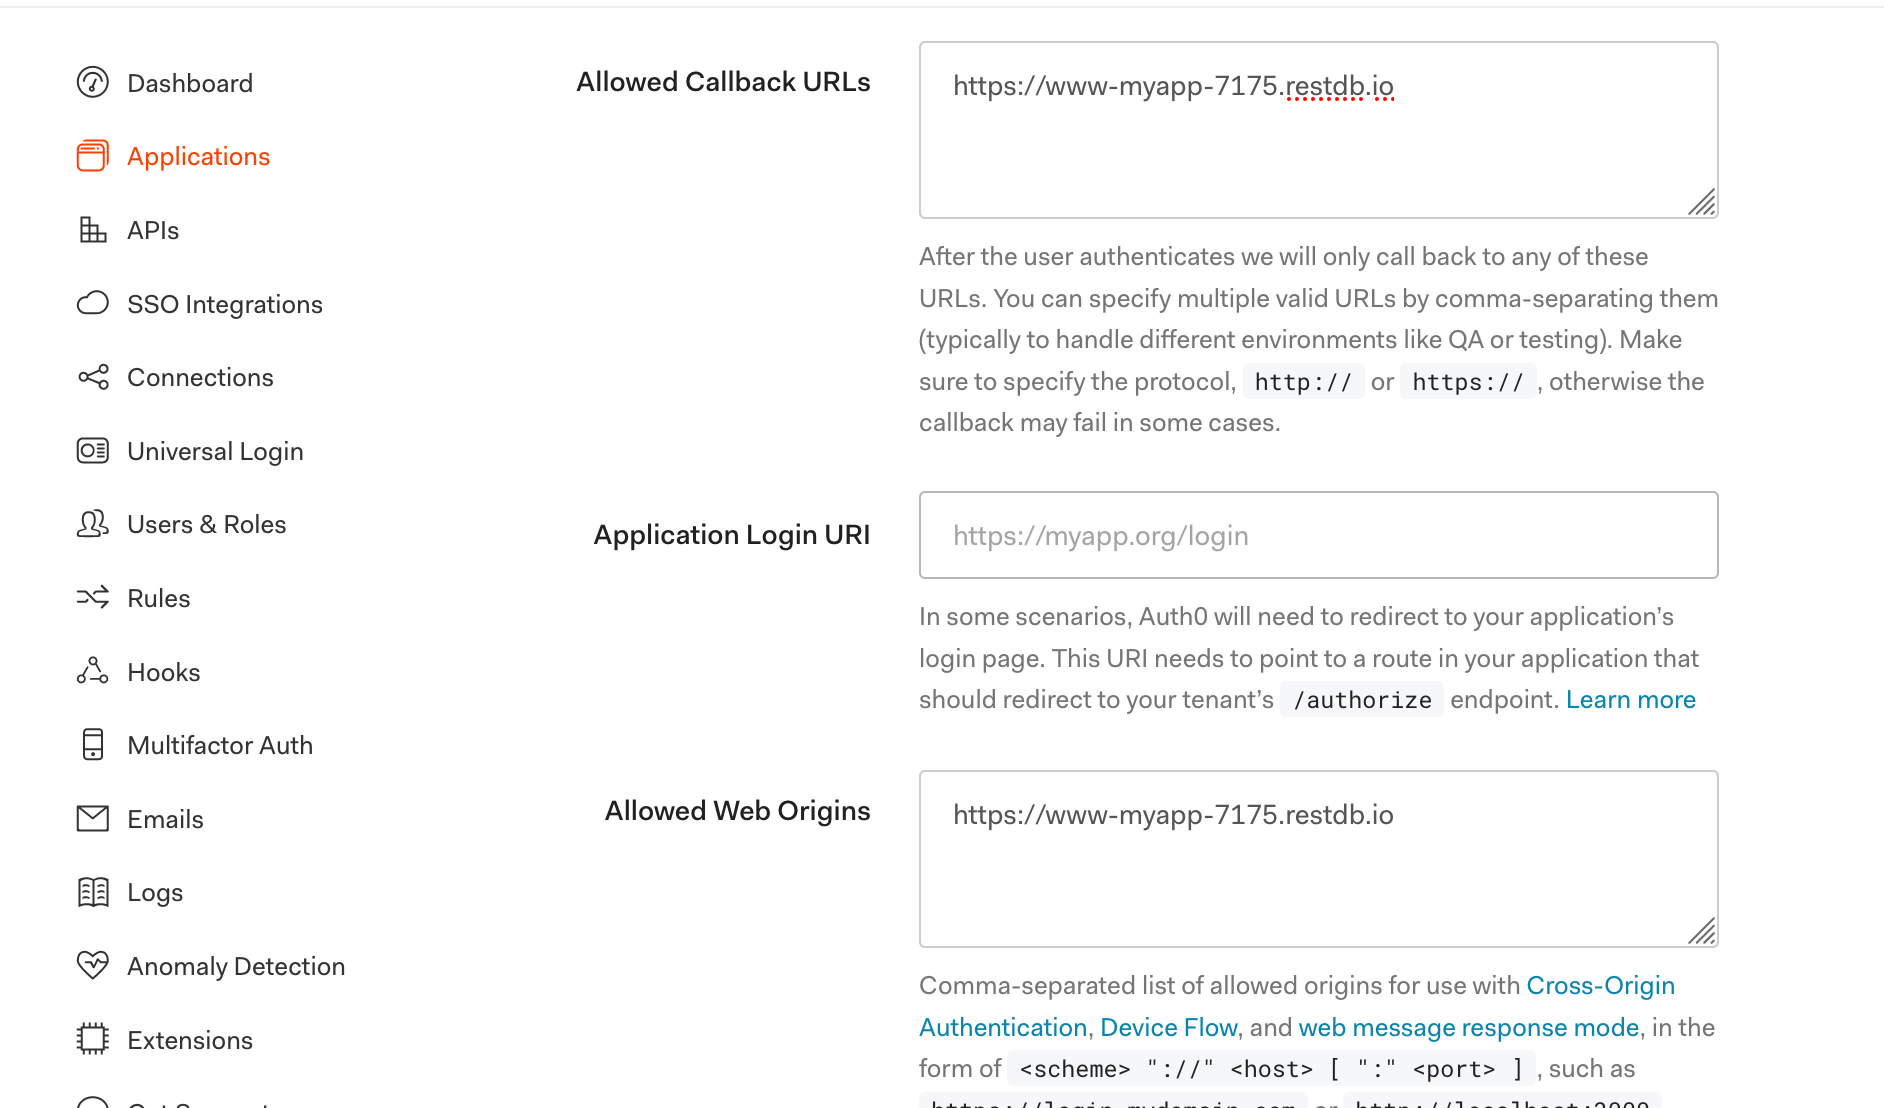
Add your App URL to Auth0
We're almost done, but we also need to add the public URL of our Web application (https://www-myapp-7175.restdb.io) to the following fields for the application in Auth0: 'Allowed Callback URLs', 'Allowed Web Origins' and 'Allowed Origins (CORS)'.
That's it, we have integrated sign up and log in using Auth0 and a restdb.io database.
The final result gives us a professional sign up and log in process. And we get access to the data through a simple REST API with the security token.
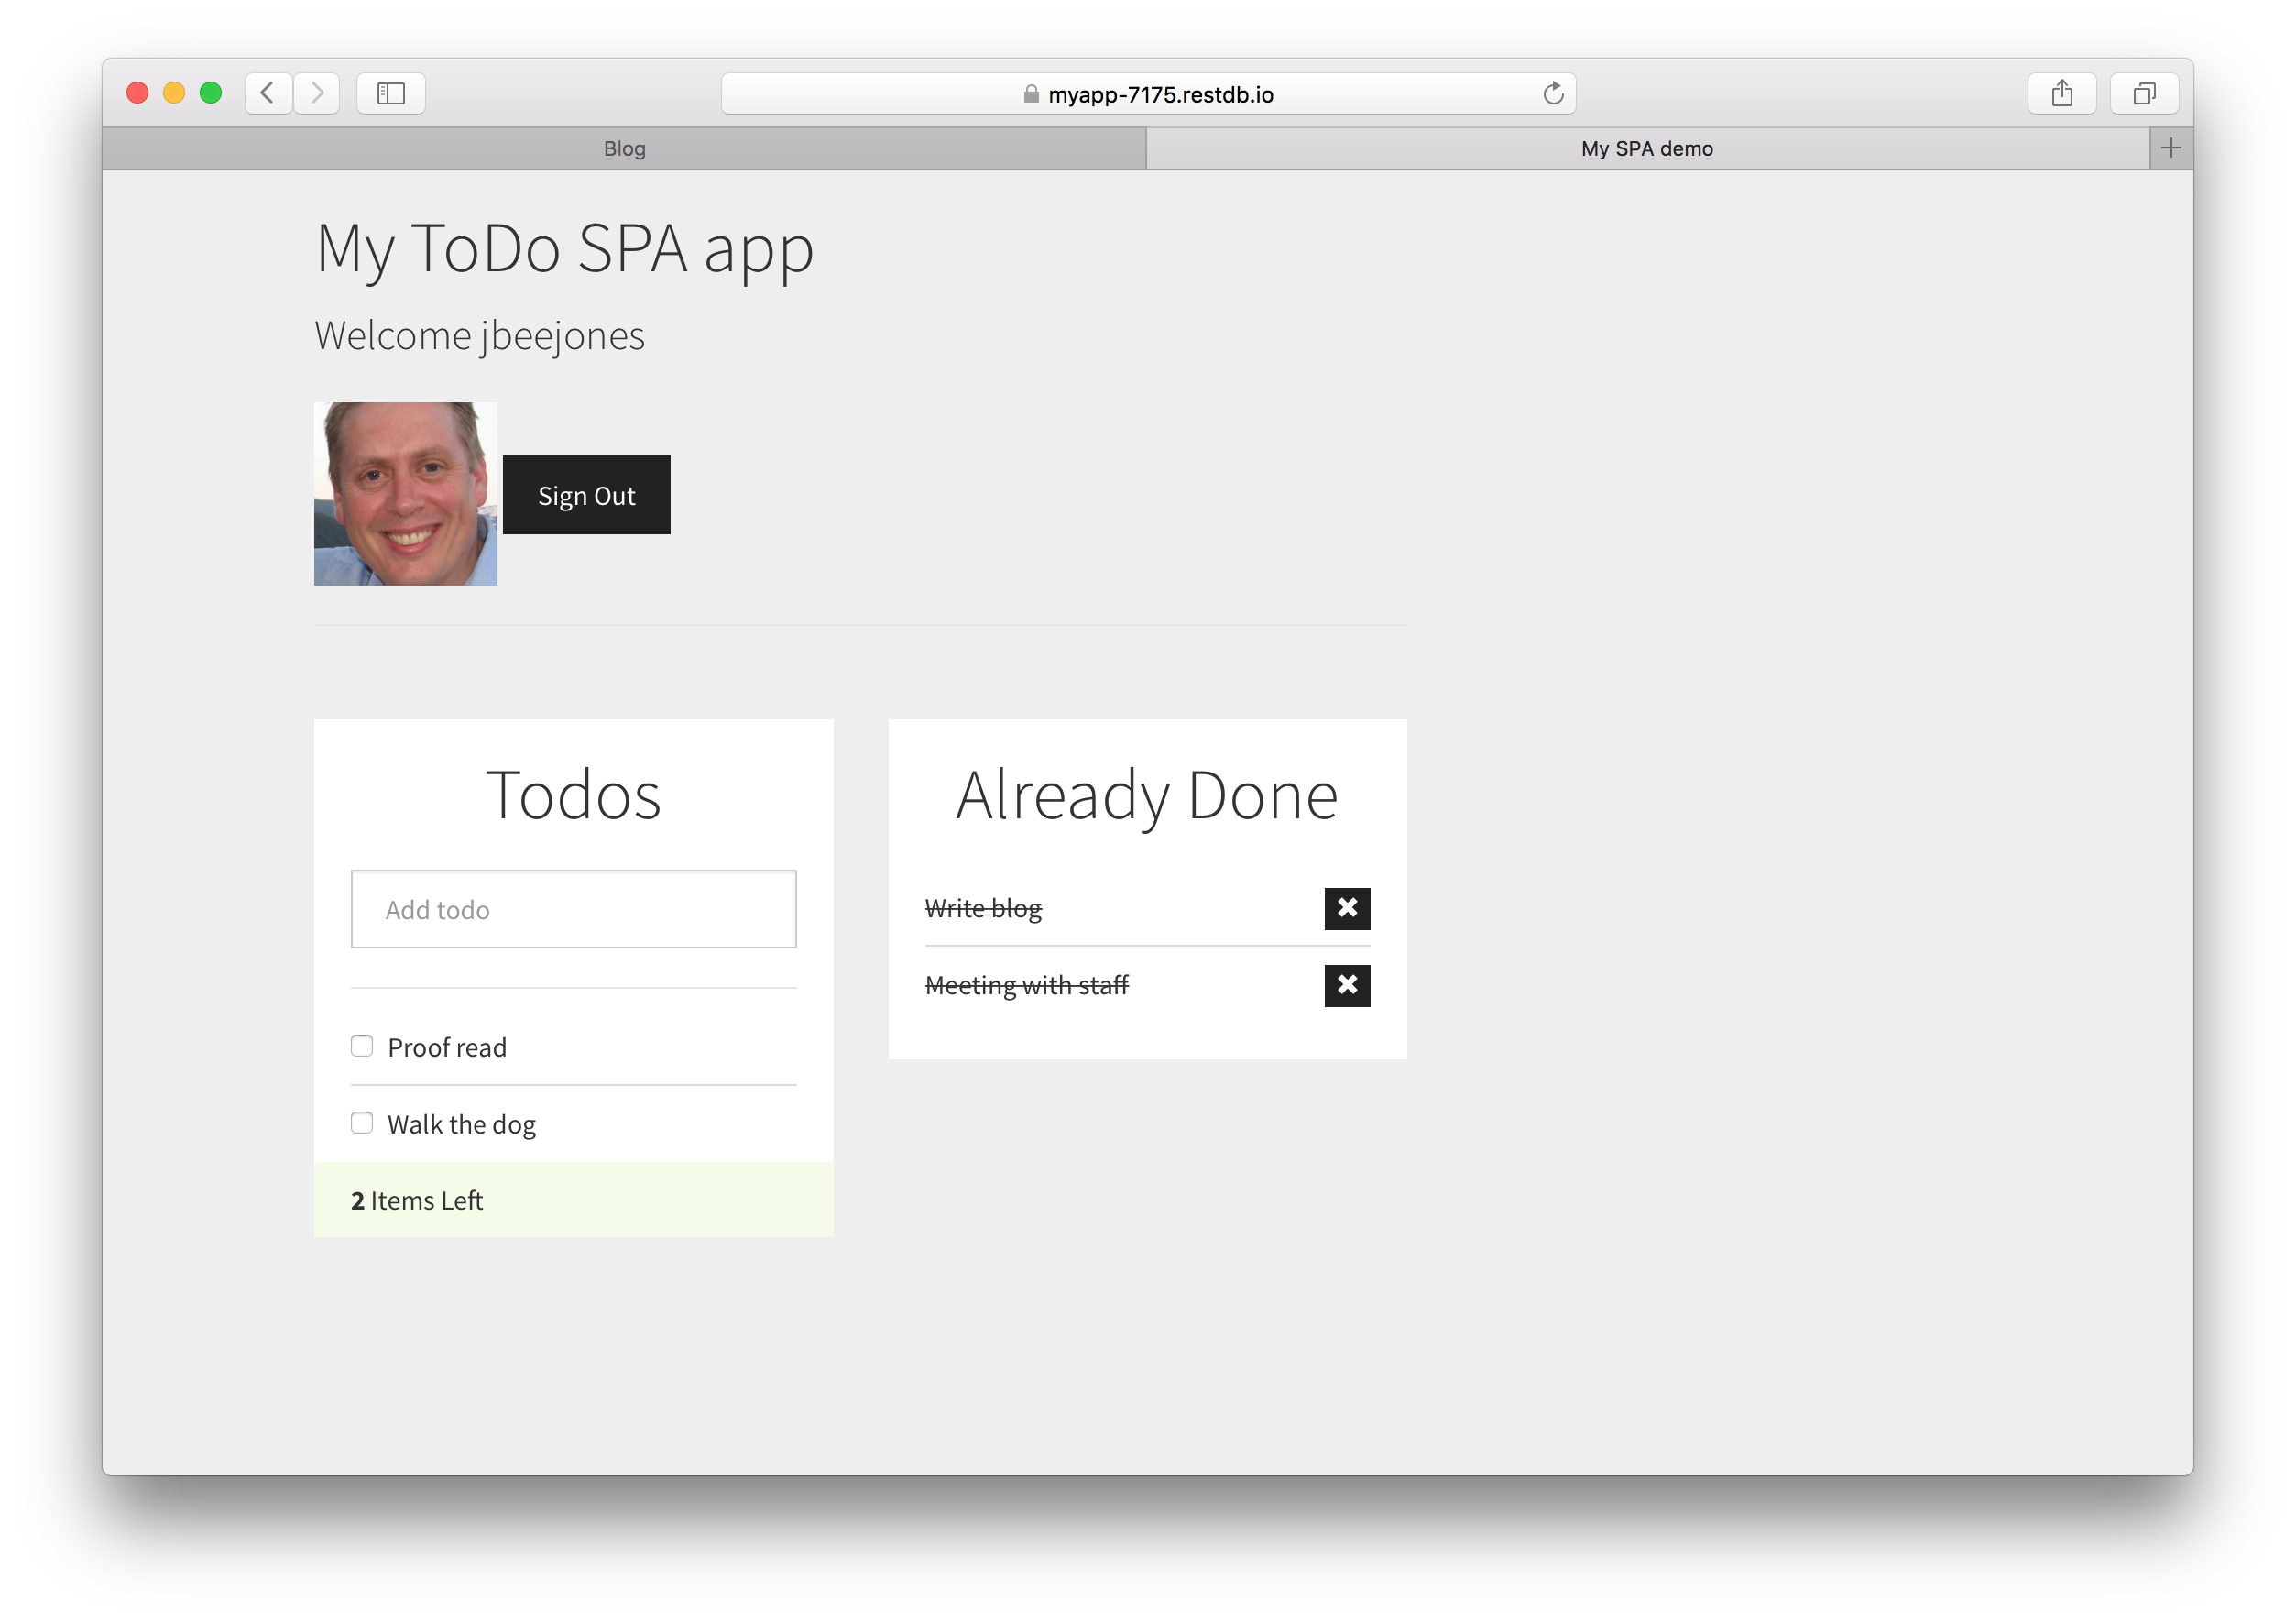
Check out the live example application here.
There is one more (optional) step - insert users to the restdb.io database.
Insert Users from Auth0 to your application database (optional)
Auth0 has a separate user database where all signed up users for your application resides. This is useful if you want your users to be an integrated part of your application.
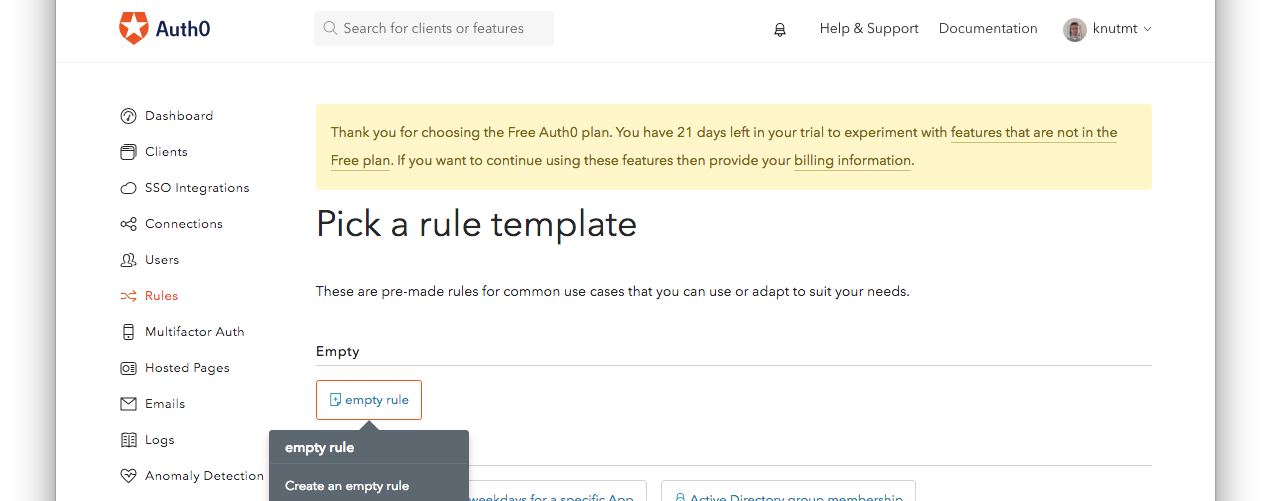
To set this up, we create a Rule in Auth0 that sends us a copy of a user each time there is a sign up or login event. Navigate to the Rules menu in Auth0 and create a new empty rule.
Give the rule a name, e.g. restdbusers, and enter the following JavaScript code:
function (user, context, callback) { // short-circuit if the user signed up already if (context.stats.loginsCount > 1) { console.log("seen user before"); return callback(null, user, context); } var _ = require('lodash'); var small_context = { appName: context.clientName, userAgent: context.userAgent, ip: context.ip, connection: context.connection, strategy: context.connectionStrategy }; var payload_to_restdb = _.extend({}, user, small_context); payload_to_restdb.roles = ["useraccess"]; payload_to_restdb.active = true; console.log("Calling restdb.io"); var request = require("request"); delete payload_to_restdb._id; var options = { method: 'POST', url: 'https://<your_database_url_here>/rest/users', headers: { 'cache-control': 'no-cache', 'x-apikey': '<your_fullaccess_api_key_here>', 'content-type': 'application/json' }, body: payload_to_restdb, json: true }; request(options, function (error, response, body) { if (error) throw new Error(error); console.log(body); }); // don't wait for the restdb.io call to finish, return right away (the request will continue on the sandbox) callback(null, user, context); } This Rule will execute and you will have a copy of all your users in your restdb.io database. This is our first two users that has signed up to our Web application:
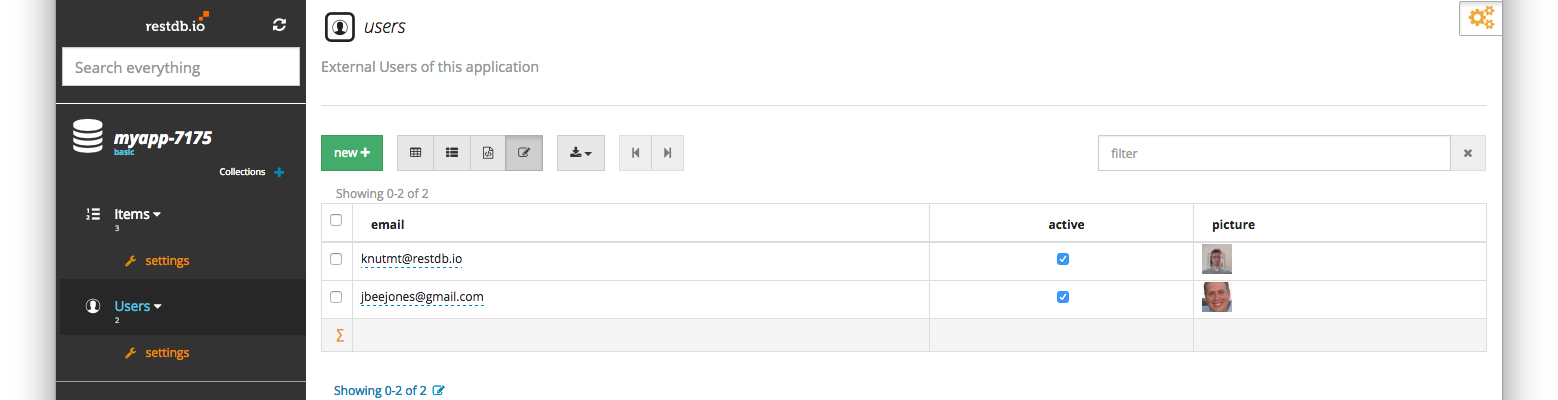
This was not so complicated, was it? Maybe we did it in 10 minutes? These kind of estimates are typical for web developers anyway...
Links to source code and documentation
GitHub source code
Auth0 - authentication as a service
RestDB.io documentation
How To Add Authentication To Web App
Source: https://restdb.io/blog/simple-user-authentication-for-web-apps
Posted by: irvinhaster.blogspot.com
0 Response to "How To Add Authentication To Web App"
Post a Comment